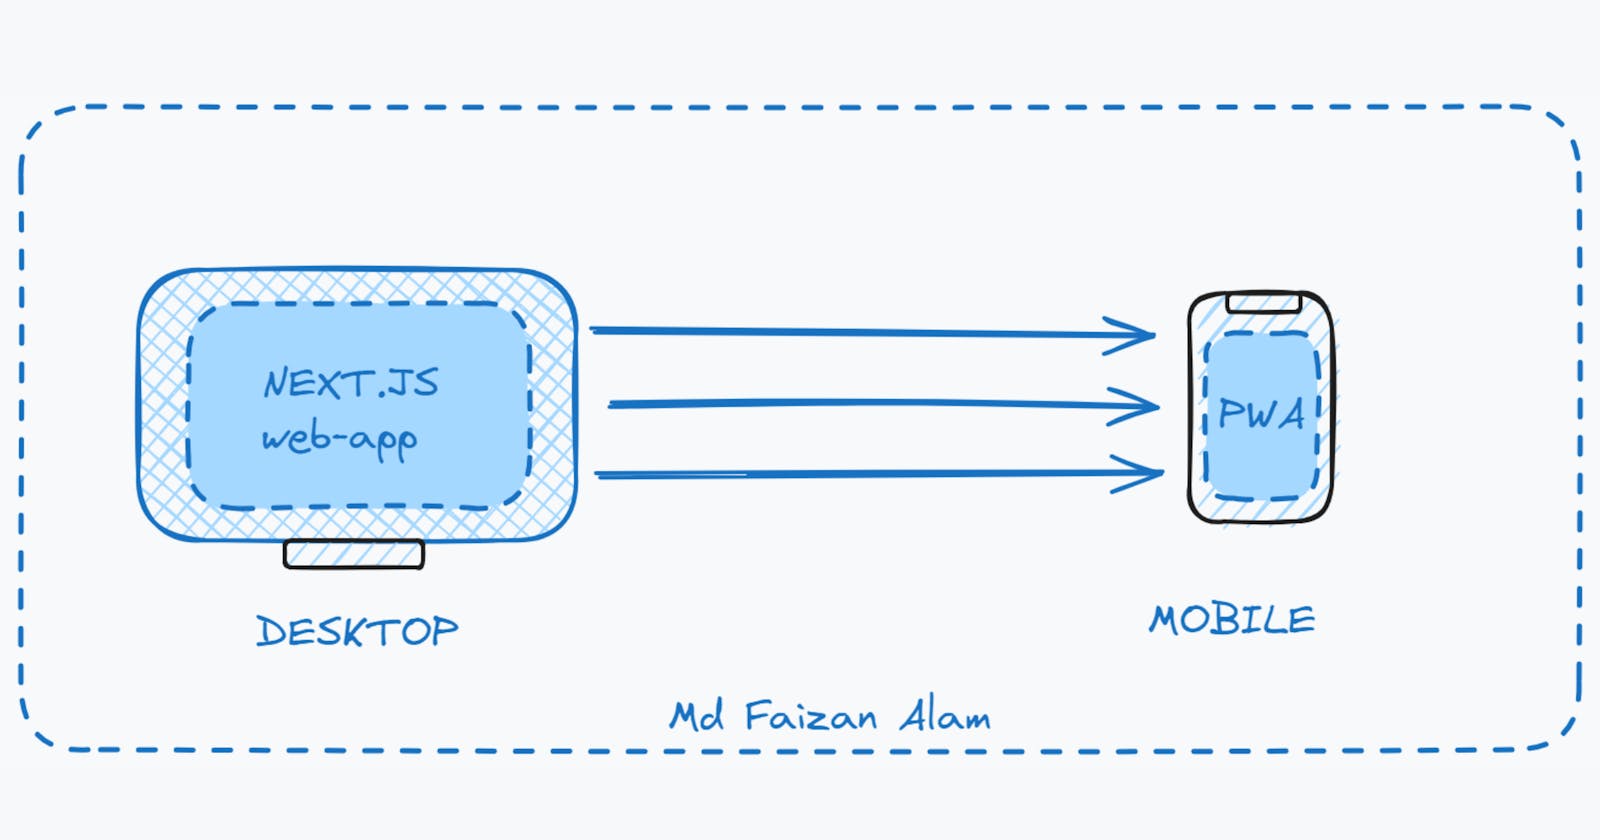


Aprogressive web app (PWA) is an app that’s built using web platform technologies, but that provides a user experience like that of a platform-specific app. Like a website, a PWA can run on multiple platforms and devices from a single codebase. The difference is , you can install any website which is a PWA into your device just like a native-application. And dock it, pin it or launch it anytime you want without going to the browser and searching for that website.
In this Article, I will tell you how you can turn your Next.js(14) application into an installable Progressive Web App(PWA). Here I will set up a new Next.js application and show you how to turn that into a PWA. You can do the same in your application new or old.
Prerequisites :
Node.js 18.17 or later.
npm — Node Package Manager
Creating a New Next.js Application:
npx create-next-app@latest
This command sets up a new Next.js app. During the process, you will be prompted to choose which features to enable for the project.
What is your project named? my-app
Would you like to use TypeScript? No / Yes
Would you like to use ESLint? No / Yes
Would you like to use Tailwind CSS? No / Yes
Would you like to use `src/` directory? No / Yes
Would you like to use App Router? (recommended) No / Yes
Would you like to customize the default import alias (@/*)? No / Yes
What import alias would you like configured? @/*
After the prompts, create-next-app will create a folder with your project name and install the required dependencies.
For more about NextJs application, you can visit next-js official documentation here.
Install the PWA library
To make our app a PWA, we need a library which we can install from the command below. You can check the whole documentation for it here.
npm i @ducanh2912/next-pwa
Wrap your Next config with withPWA
Now, after the library is installed, go to your next.config.ts
Add the following and wrap your Next.js config with it:
const withPWA = require("@ducanh2912/next-pwa").default({
  dest: 'public',
  cacheOnFrontEndNav : true,
  aggresiveFrontEndNavCaching : true,
  reloadOnOnline : true,
  swcMinify : true,
  disable : false,
  workboxOptions: {
    disableDevLogs: true,
  }
});

module.exports = withPWA({
   // Your Next.js confignp
});
These are the basic functions, you can add more according to your needs.
You can read them all on the documentation of this library here.
Add a manifest.json file
Create a manifest.json file in your public folder. Instead of creating this file from scratch, paste the template below and make the changes according to you. This file ticks all the necessary information needed for basic PWA.
{
  "name": "My awesome PWA app",
  "short_name": "PWA App",
  "icons": [
    {
      "src": "/icons/android-chrome-192x192.png",
      "sizes": "192x192",
      "type": "image/png",
      "purpose": "any maskable"
    },
    {
      "src": "/icons/android-chrome-384x384.png",
      "sizes": "384x384",
      "type": "image/png"
    },
    {
      "src": "/icons/icon-512x512.png",
      "sizes": "512x512",
      "type": "image/png"
    }
  ],
  "theme_color": "#FFFFFF",
  "background_color": "#FFFFFF",
  "start_url": "/",
  "display": "standalone",
  "orientation": "portrait"
}
Don’t forget to change names, descriptions and path to icons according to your file directory and theme color according to your application.
Modify Layout to work with this Manifest
We are almost done, just go to the root layout.tsx file of your application and add this manifest.json in the metadata function of it like below:
import type { Metadata } from "next";

export const metadata: Metadata = {
  manifest : "/manifest.json",
  //your other metadata
}
And voila , we are done.
Build and Run your Application
Build your app using the command below:
npm run build
After the build, you will find two files in your public folder:
sw.js: This file is a Service Worker file. Service Workers are utilized for various purposes such as caching, background synchronization, providing native features, and enabling offline support.workbox-___.js: This file, named "workbox," is used to facilitate asset caching. It helps improve the performance of your web application by storing frequently used assets locally to reduce the need for repeated downloads.
Then run the command below:
npm run dev
Run your next.js application to check if you have successfully turned it into a PWA. If you have done everything mentioned correctly, you should see an icon in searchbar of browser in your application like below:

Now you have turned your Next.js app into a PWA. You can install and dock it in your taskbar or in mobile and its just one click away.
Thank you for reading! If you have any feedback or notice any mistakes, please feel free to leave a comment below. I’m always looking to improve my writing and value any suggestions you may have. If you’re interested in working together or have any further questions, please don’t hesitate to reach out to me at fa1319673@gmail.com.