
“Building a Working Form for Your Website on Netlify: A Step-by-Step Guide for Beginners”


Table of contents
Most of us developers use free hosting services like Netlify or Vercel for hosting our projects and portfolios too. For our portfolios, a contact form is an essential part as it lets potential employers contact us. In today’s blog, I will share with you how you can add a working form to your website hosted on Netlify and receive the responses in your email. So let's go!
Prerequisites:
Simple HTML and CSS.
Netlify Account.
Little knowledge of how to deploy your site on Netlify (its okay if you don’t, i will teach that too here).
Steps:
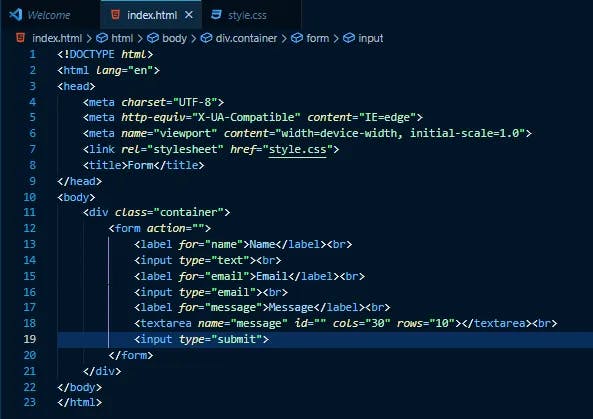
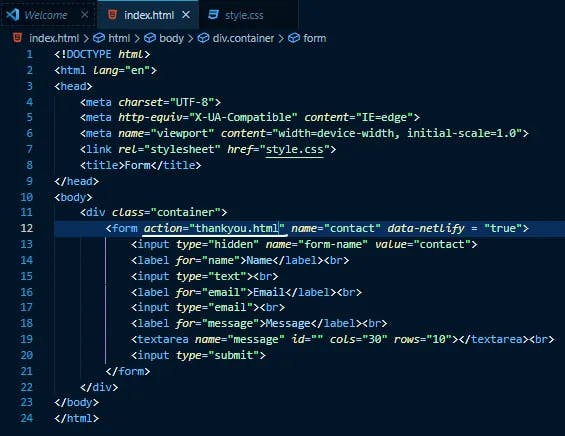
- Make your HTML form inside your project and style accordingly. I am making a simple form with 3 fields for name, email and a textarea for the message.
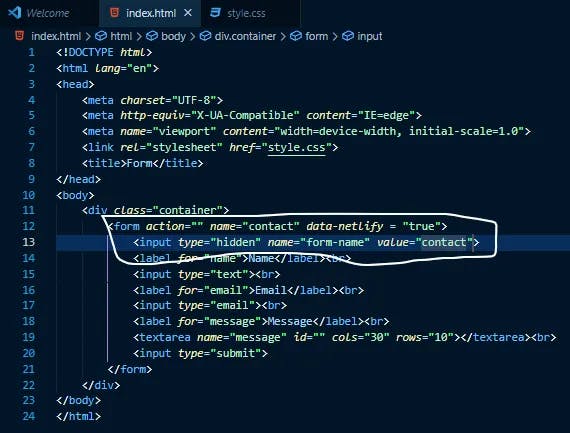
- Now that you have made your form, inside the form tag add two attributes, name = ‘contact’ and data-netlify = ‘true’. These are the attributes which will let Netlify know that this is a contact form in your web page. Then add an input field with 3 attributes, type= ‘hidden’, name= ‘form-name’ and value = ‘contact’.
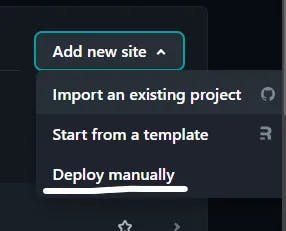
- Now comes the deployment part, for this, you have to come to the Netlify website. Under your Team overview click on the ‘add new site’ option. A menu will appear with 3 options, select deploy manually and drop your project folder there.
- Congrats, your website is deployed. Check it inside your sites


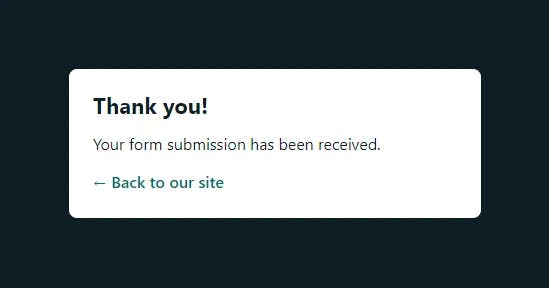
- Now try submitting a response with your form. After every successful submission, you will come to the below page which is offered by Netlify.
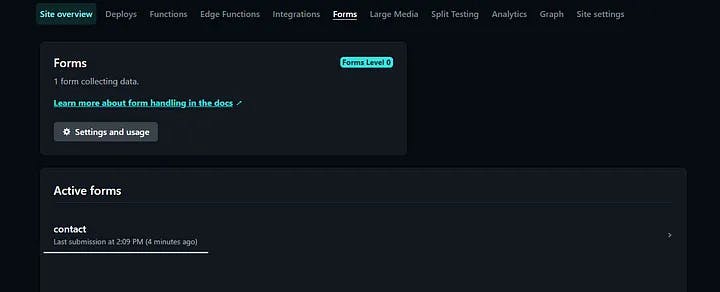
You can check your responses under Forms in your site overview.
- If you want a custom page where the user will be redirected after the submission of the form you can do that too. You just have to add that page to the action attribute of the form.
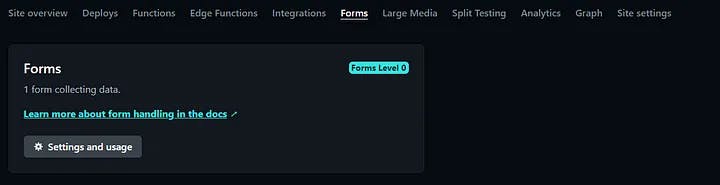
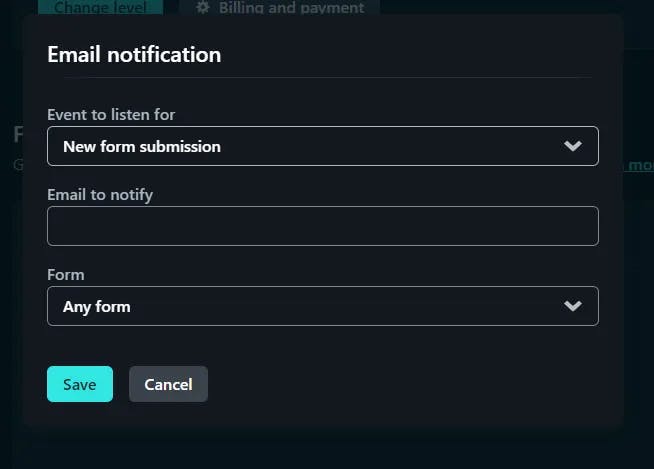
- Now to receive notification in your email whenever a response is submitted, go to ‘settings and usage’ under Forms. Then go to the ‘Form notifications’ section and click on ‘add notification’ and select ‘email notification’. Enter your email ID and select the form for which you want to receive notifications.

Conclusion
Today you completely learned how to make a contact form and host it on Netlify and also how to receive notifications in your email for every response. I hope this article helped you and will make a difference at your sites hosted on Netlify.
I have made this article from my own experience and by learning from many documents and articles, if there is any mistake comment below and if you have ideas to improve this article, reach out to me. If you found my blog interesting and want to hire me, email me at fa1319673@gmail.com