

Creating a Rock-Solid WordPress Development Environment: My Journey with rtCamp (Part 2)


This is the second article in my series "WP Diaries: My Journey with rtCamp in WordPress Development". This article will cover everything there was in the second section of rtCamp which describes everything you need to know and install on your local machine to start your WordPress Development Journey. Here you will see How Git and SVN are differently used, setting up IDE and Z(Oh My Zsh) shell for shell scripting. So let's begin
The Section consisted of 4 parts:
Introduction to Git and SVN
Setting up an Integrated Development Environment (IDE)
Pushing changes to the site via Git commits/branches
Setting up Z shell and Oh My Zsh for fast command line work

Introduction to Git and SVN
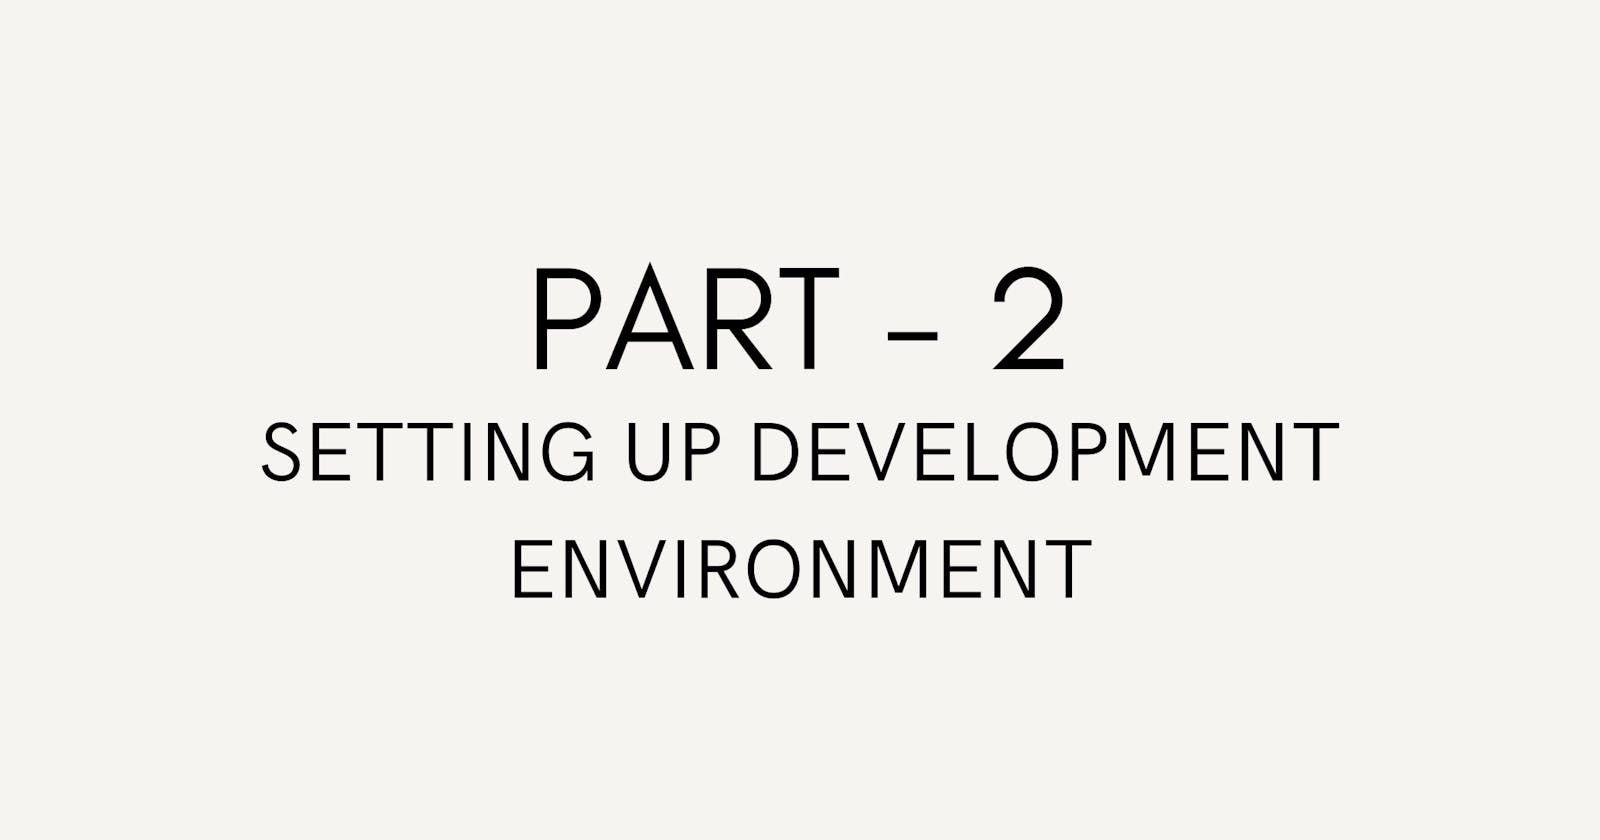
We all know how much Version control matters in development. It makes the collaboration between developers and the whole process of development smooth. The case is the same for the WordPress ecosystem, it's just that the most commonly used types of version control here are Git and SVN.
Git - Git is a distributed version control system created to manage and track changes to any set of files, including software code. It is free and open-source. Git enables developers to interact with others, store several versions of their work, and efficiently and methodically manage their code history. Multiple developers can work on various project components at once using Git, and their changes can be combined into a single, cohesive codebase. Due to its adaptability, speed, and dependability, Git is widely used in the software development sector.
SVN - The management of modifications to software source code, documents, and files is done using a version control system called SVN. It enables multiuser collaboration, organised code updates, and tracking of file changes. Users can use SVN to check out files, edit them, and then commit their modifications to the main repository. Additionally, SVN gives programmers the ability to branch and merge their code, facilitating parallel development and enhancing control over the codebase's past.
Difference between Git and SVN :
When you are using Git, all your files are stored in one central repository but you can have multiple local copies to work on whereas when you are working with SVN, all your files are stored in the central repository alone and you will have to commit your changes directly to it.
If you know how to work with Git already, you may feel SVN is a bit different in how it works. But don’t let that stop you from learning how to use SVN because SVN is used commonly in the WordPress ecosystem for managing theme and plugin updates in the WordPress repository.
You can check out this tutorial for learning more about SVN https://www.tutorialspoint.com/svn/index.htm
Now that you have a basic understanding of Git and SVN version control systems, you need to learn how to write good commit messages. A good commit message is very necessary in a collaborative environment as it can give anyone a clear idea about the change done in that commit. Below I have shared some useful resources from where you can learn how to write good commit messages which will help you a lot.
Setting up an Integrated Development Environment (IDE)
Now that you have understood why Git and SVN are important for code deployment, you should know how to set up and use an IDE. In the WordPress ecosystem, VS code by Microsoft and PhpStorm is preferred. VS code is a free tool whereas PhpStorm is a paid IDE by IntelliJ. You can download any of these from the links below:
https://code.visualstudio.com/download
https://www.jetbrains.com/phpstorm/download/#section=windows
Apart from downloading these IDEs in your local system, you have to learn how to use them for WordPress Development and what additional things you have to install in them. For that, I am sharing some articles which will help you to set up your IDE.
Along with that, you should also know how to set up local and remote development environments when working with WordPress. You can check out the below videos for the same using Varying Vagrant Vagrants.
Pushing changes to the site via Git commits/branches
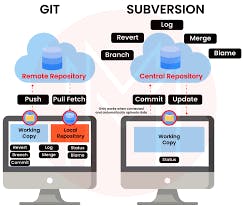
The act of updating a website by using Git to commit changes locally and then pushing them to a remote repository is referred to as pushing changes to the site using Git commits/branches. Developers who collaborate or work alone on a website often carry out this task. They can use Git to make changes, test them on their personal machines, and then push them to a central repository.
Making a branch, committing changes to that branch, and then pushing those changes to a remote repository are all steps in the change-push process. The master branch can then be deployed to the live website when the changes have been approved and merged there. Today's developers frequently employ this method since it enables efficient version control, teamwork, and deployment.
Please refer to the pushing to remote support article by GitHub for more information on the same.
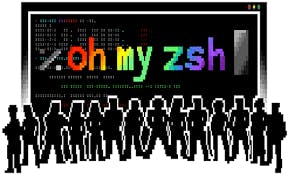
Setting up Z shell and Oh My Zsh for fast command line work
System administrators and developers both depend on the command line as a tool. It makes it possible to navigate the file system quickly and effectively, run scripts, and issue commands. Although Bash is the standard shell included with Unix-based systems, it has a number of limitations that can make working on the command line more challenging than it needs to be. zsh and Oh My Zsh step in to help with it.
Oh My Zsh is an open-source framework for managing the zsh configuration, plugins, and themes. Z shell is an alternative shell with several improvements over Bash. This post will go over how to set up zsh and Oh My Zsh to make the command-line work faster and more effectively.

The General steps for installing Zshell and Oh My Zsh are below:
Check if zsh is installed: Open your terminal and run
zsh --version. If it returns a version number, then zsh is already installed. If not, you can install it using your package manager.Set zsh as the default shell: Run the command
chsh -s $(which zsh). This will set zsh as the default shell for your user account.Customize your zsh prompt: The default prompt for zsh is not very informative. To customize your prompt, you can modify the
PS1variable in your.zshrcfile. For example, to include the current working directory, add this line to your.zshrcfile:PS1='%n@%m:%~%# 'Install Oh My Zsh: Oh My Zsh is a configuration framework for zsh that comes with a variety of plugins and themes. To install it, run the command:
sh -c "$(curl -fsSLhttps://raw.githubusercontent.com/ohmyzsh/ohmyzsh/master/tools/install.sh)".
If you had any trouble following these steps, you can also check out this Github Gist which explains everything related to Zshell installation on any Operating System.
Or you can see the Video below:
Conclusion
So this was everything I learned from the second section of rtCamp's WordPress Development. Here, we got to know the difference between Git and SVN, set up IDE for development, local development environment with Varying Vagrant Vagrants and last but not least Zshell with Oh My Zsh. Overall, this may seem overwhelming at once but once you get the hang of it, it just flows. And most importantly, you should learn at your pace and not rush into things because that is where things go haywire.
Thank you for reading! If you have any feedback or notice any mistakes, please feel free to leave a comment below. I'm always looking to improve my writing and value any suggestions you may have. If you're interested in working together or have any further questions, please don't hesitate to reach out to me at fa1319673@gmail.com.